
Landslide Lake Hiking and Backcountry Camping – by Dustin Cressey
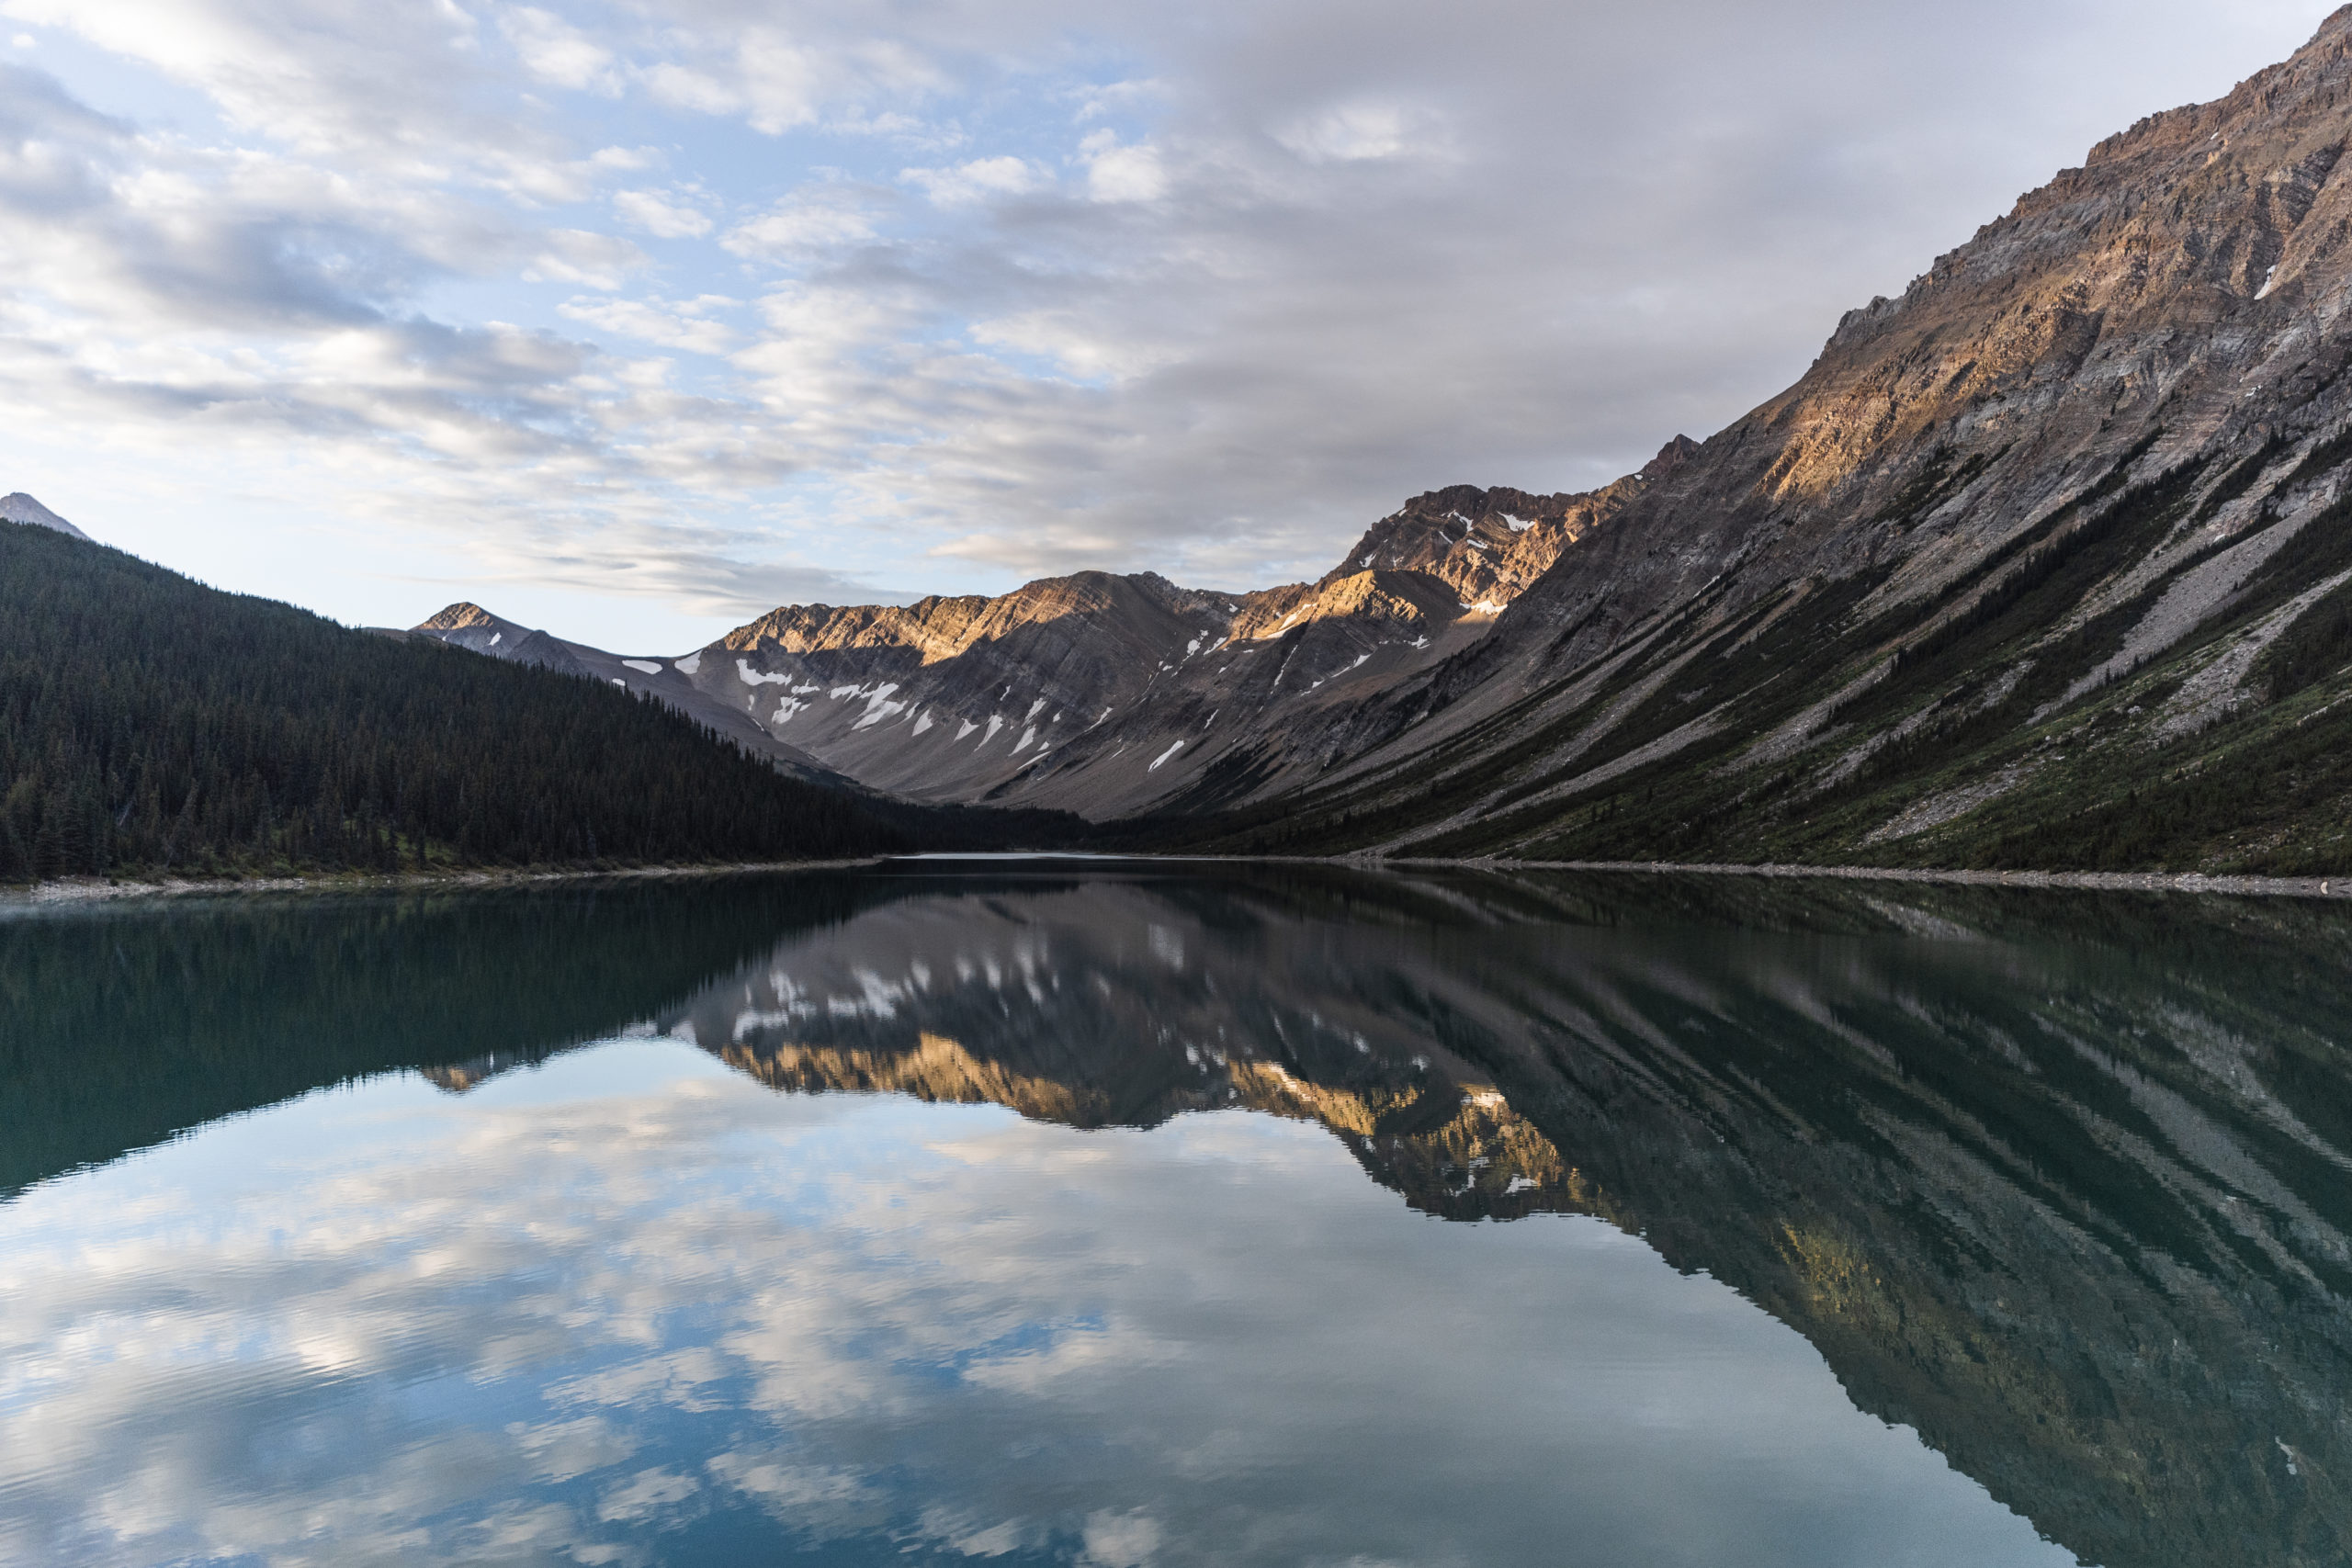
A pinnacle of David Thompson Country, this turquoise blue lake and the surrounding wilderness lie undisturbed, only accessible by air or foot. Thankfully, with a bit of preparation and commitment, you will find yourself watching the sunset from its welcoming shores, awaiting Alberta’s starry skies. Many come to this region for its amazing hiking opportunities, but the multi-day hikes are often overlooked in favour of the neighbouring national parks. Don’t be fooled, David Thompson country’s offerings are equal in beauty.
Trail Description/ Camping:
If you are looking to challenge yourself, with the promise of rewarding views and a natural backcountry oasis in return, Landslide Lake is the perfect opportunity. The Landslide Lake route and area boasts an incredible variety of trail over high alpine passes, sweeping vistas, and glacial blue waters. This hike is great for experienced hikers who want to spend a night or two in the backcountry. There are two routes that will bring you to the lake. One route starts from the Landslide Lake Fire Interpretive Trail and the other from the Pinto Lake Staging Area. You can choose to complete the loop from either direction or do an in-and-out hike on the same section.
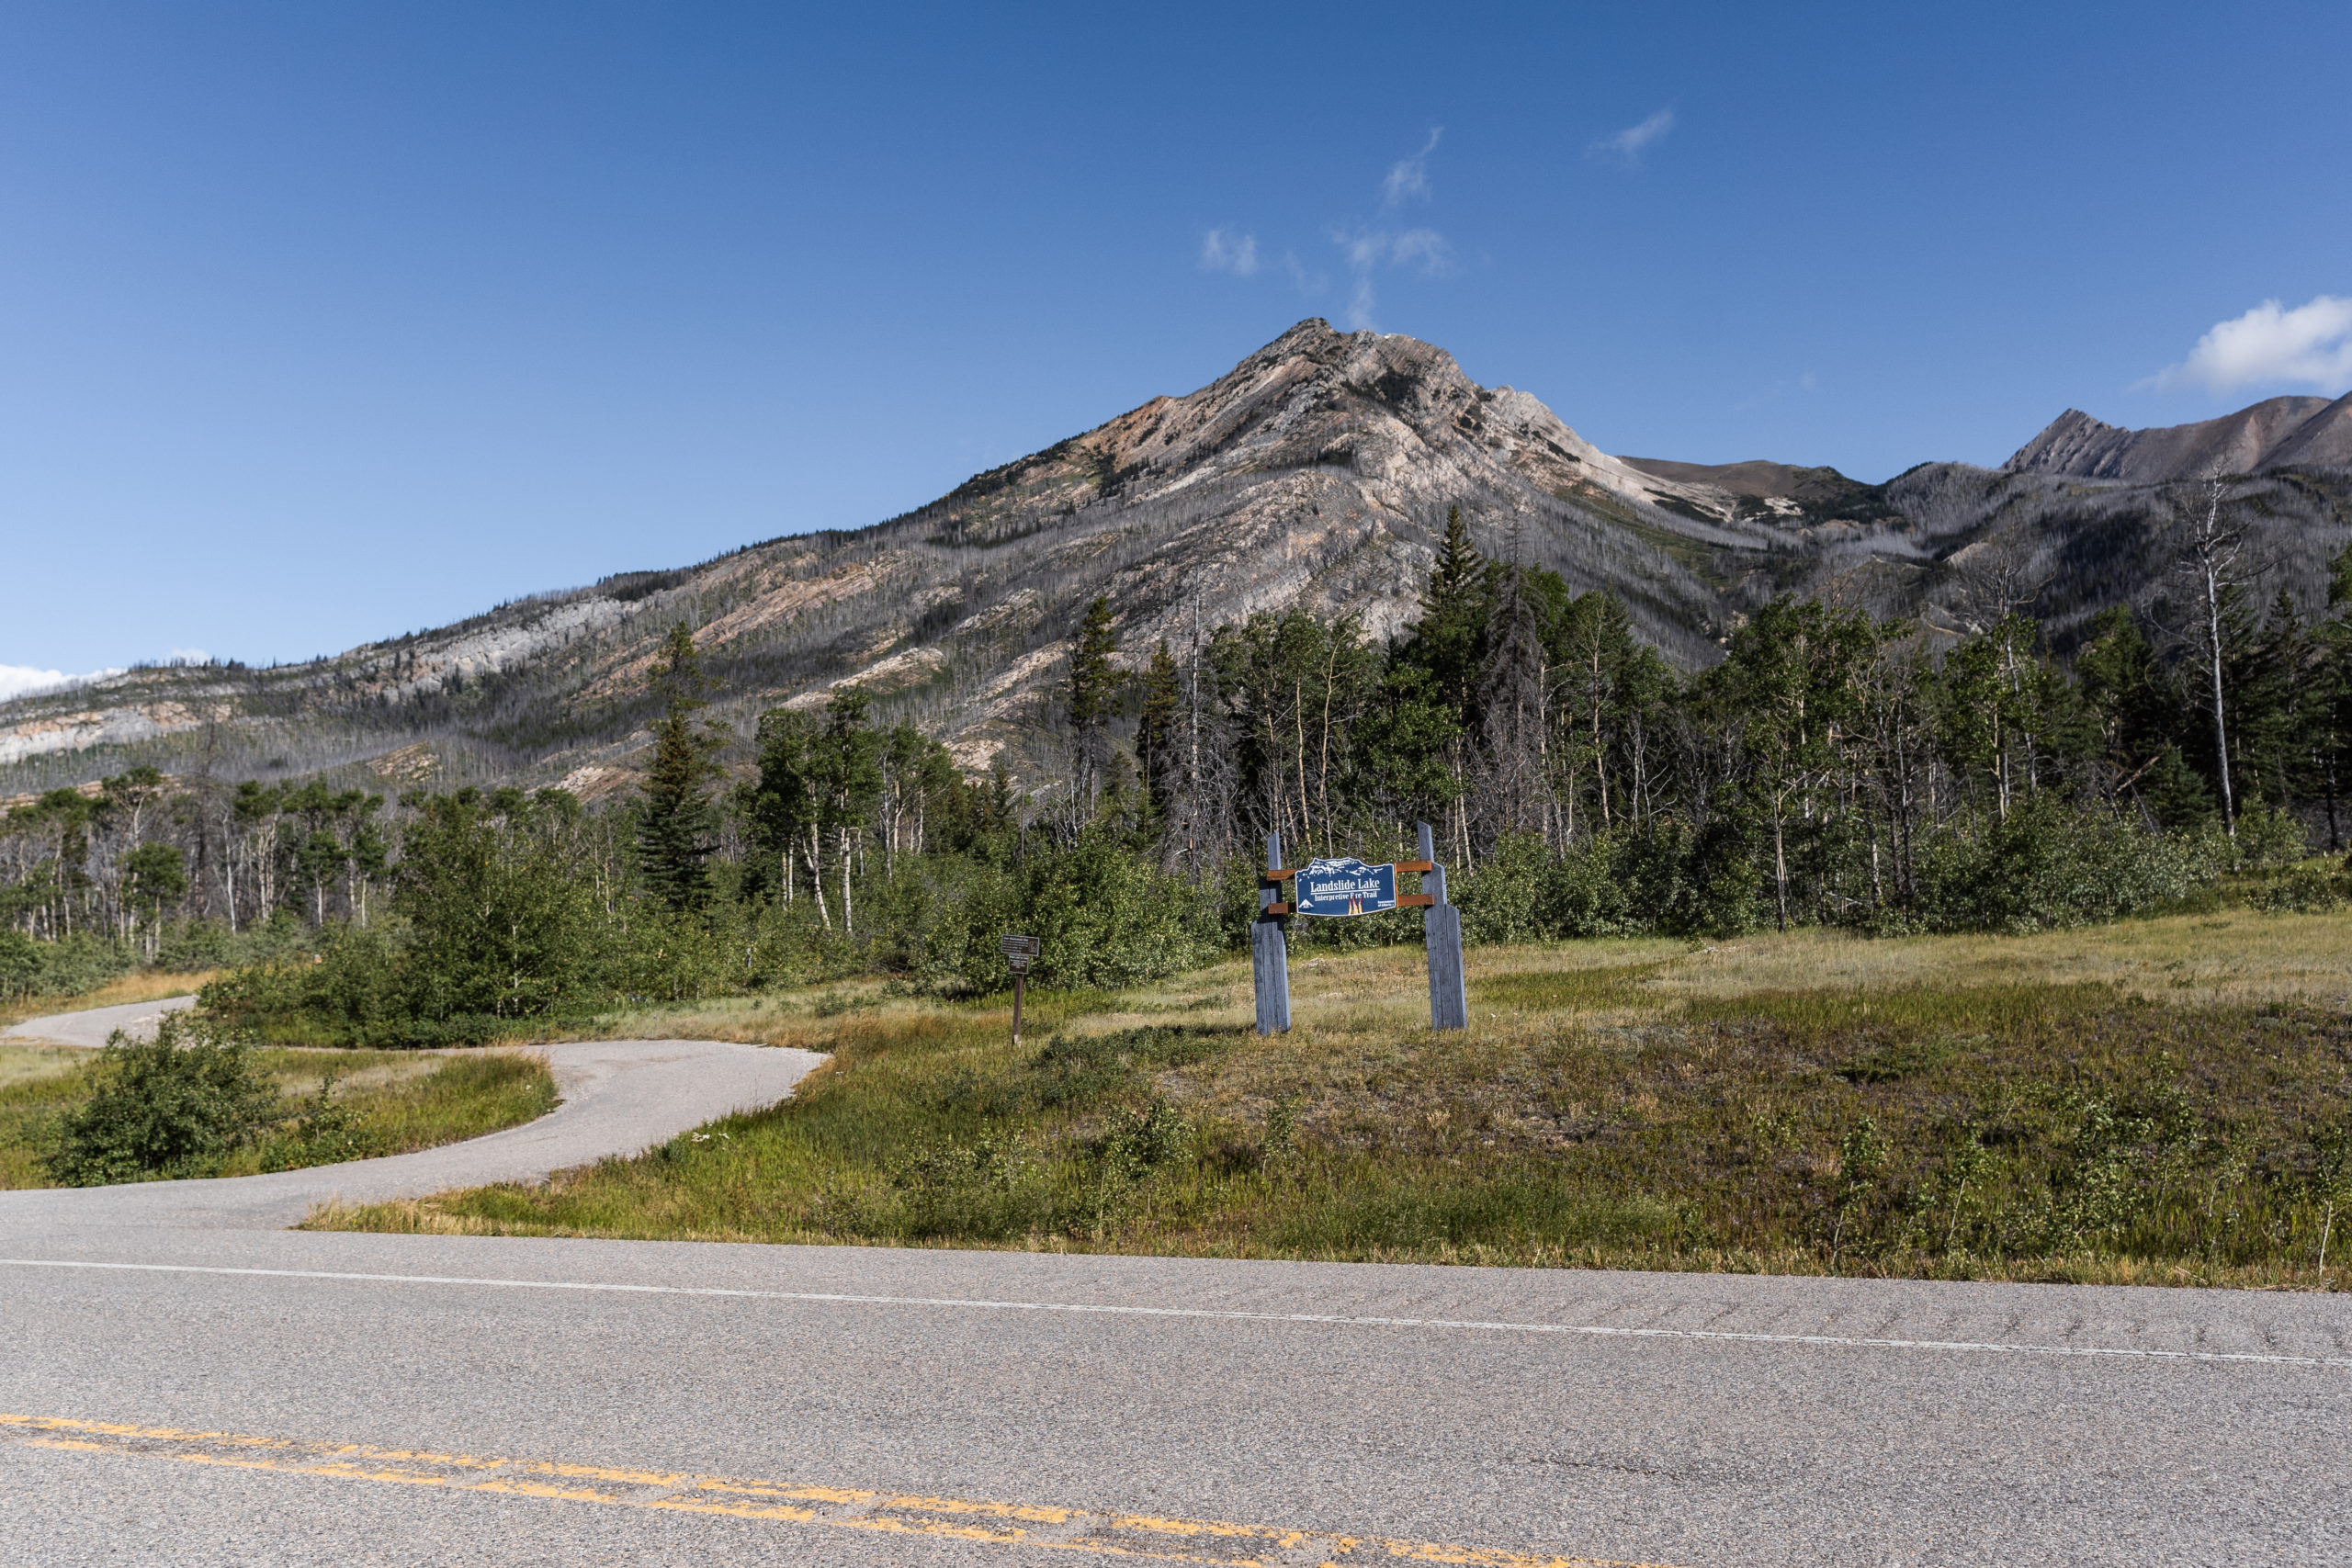
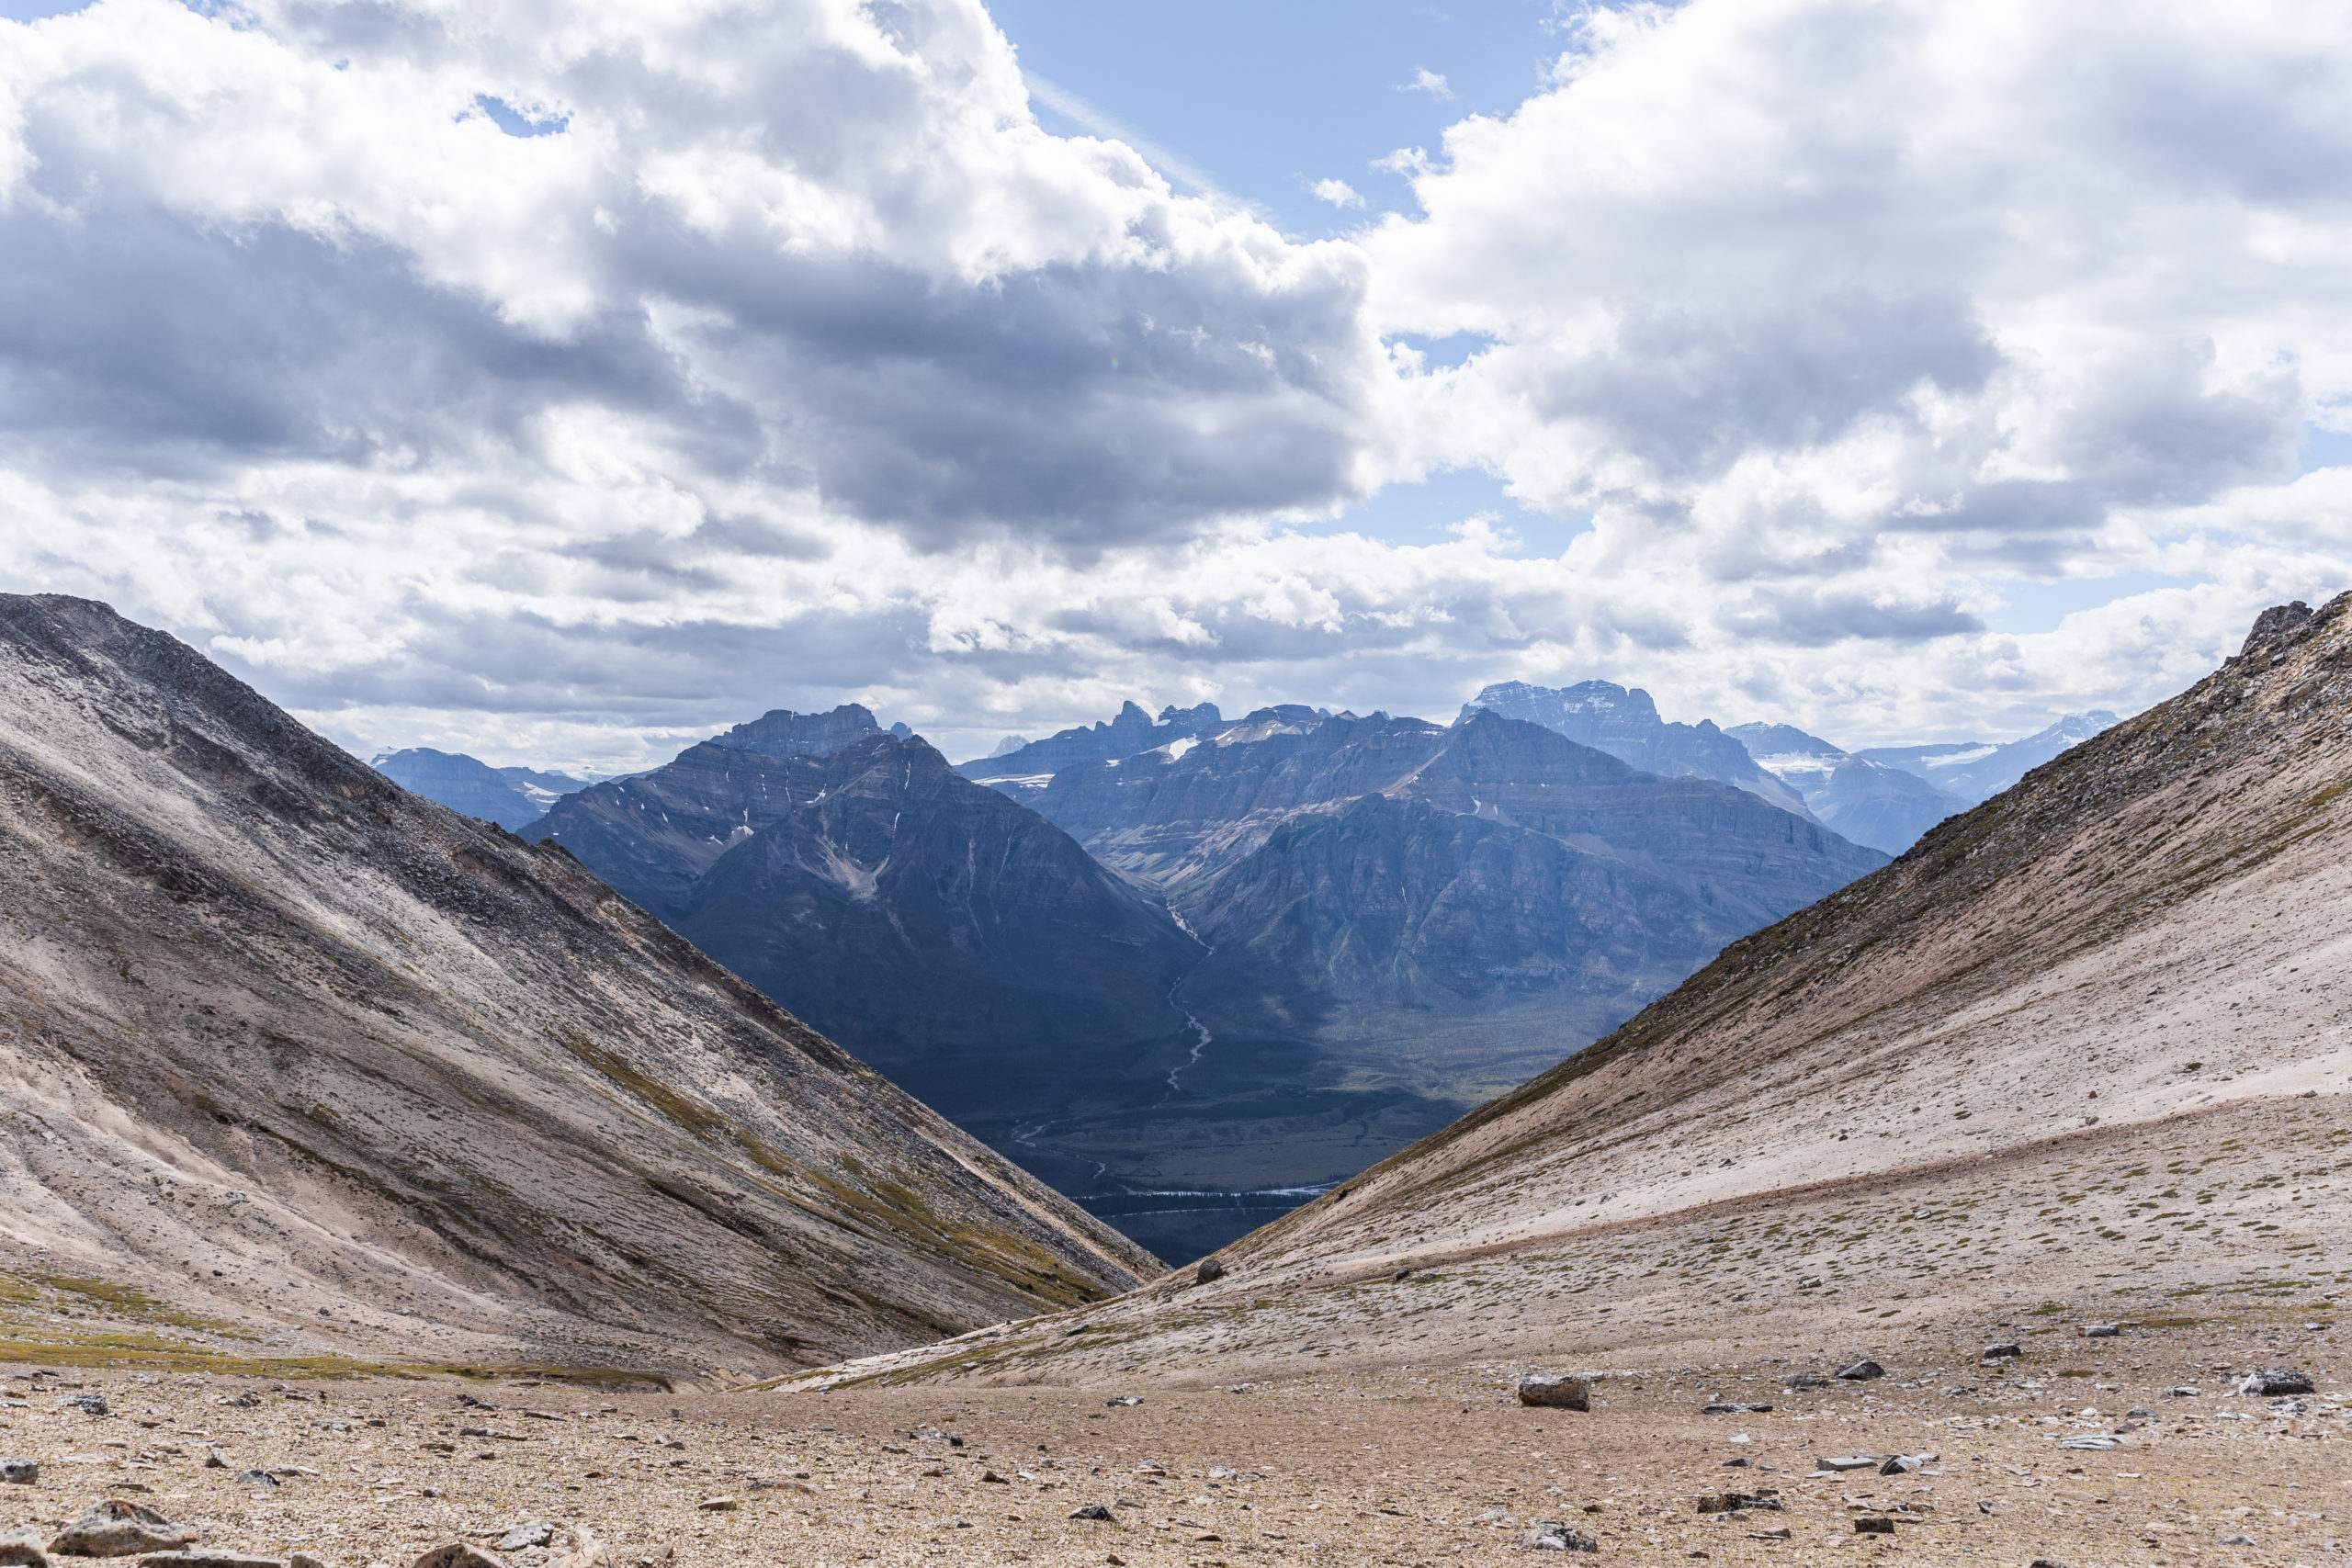
To maximise your views, we recommend parking one vehicle at the Pinto Lake Staging Area and shuttling with another to the Landslide Lake Fire Interpretive Trailhead for your departure. If you’re up for an adventure, there are a few reasons you might enjoy the trek starting at the Landslide Lake Fire Interpretive Trail over the latter. While the first day is a real grunt (gaining around 1200m of elevation and descending 500m back down to the lake) this tough climb conjures up some spectacular views of the North Saskatchewan River Valley, Banff National Park, and Landslide Lake. You will want to get a decent start on the day if you plan to camp at the lake. This 13km trip will take you 6-8 hours depending on your ability and how many breaks you take. The trail starts off by leaving highway 11 a few kilometers before the Banff National Park boundary and is well signed. There is a large blue Landslide Lake Interpretive Fire Trail sign signaling to the trailhead parking lot. The lot has enough room for around 20 vehicles, so don’t be concerned about finding a spot. Here you will also find one last outhouse if you are looking to use the porcelain throne once more before heading into the backcountry. Remember, just because you are leaving things in your vehicle doesn’t mean that animals can’t get a whiff of your car’s contents. Plan ahead and do your best to leave your car free of any major scents that might entice animals to come investigate your ride.
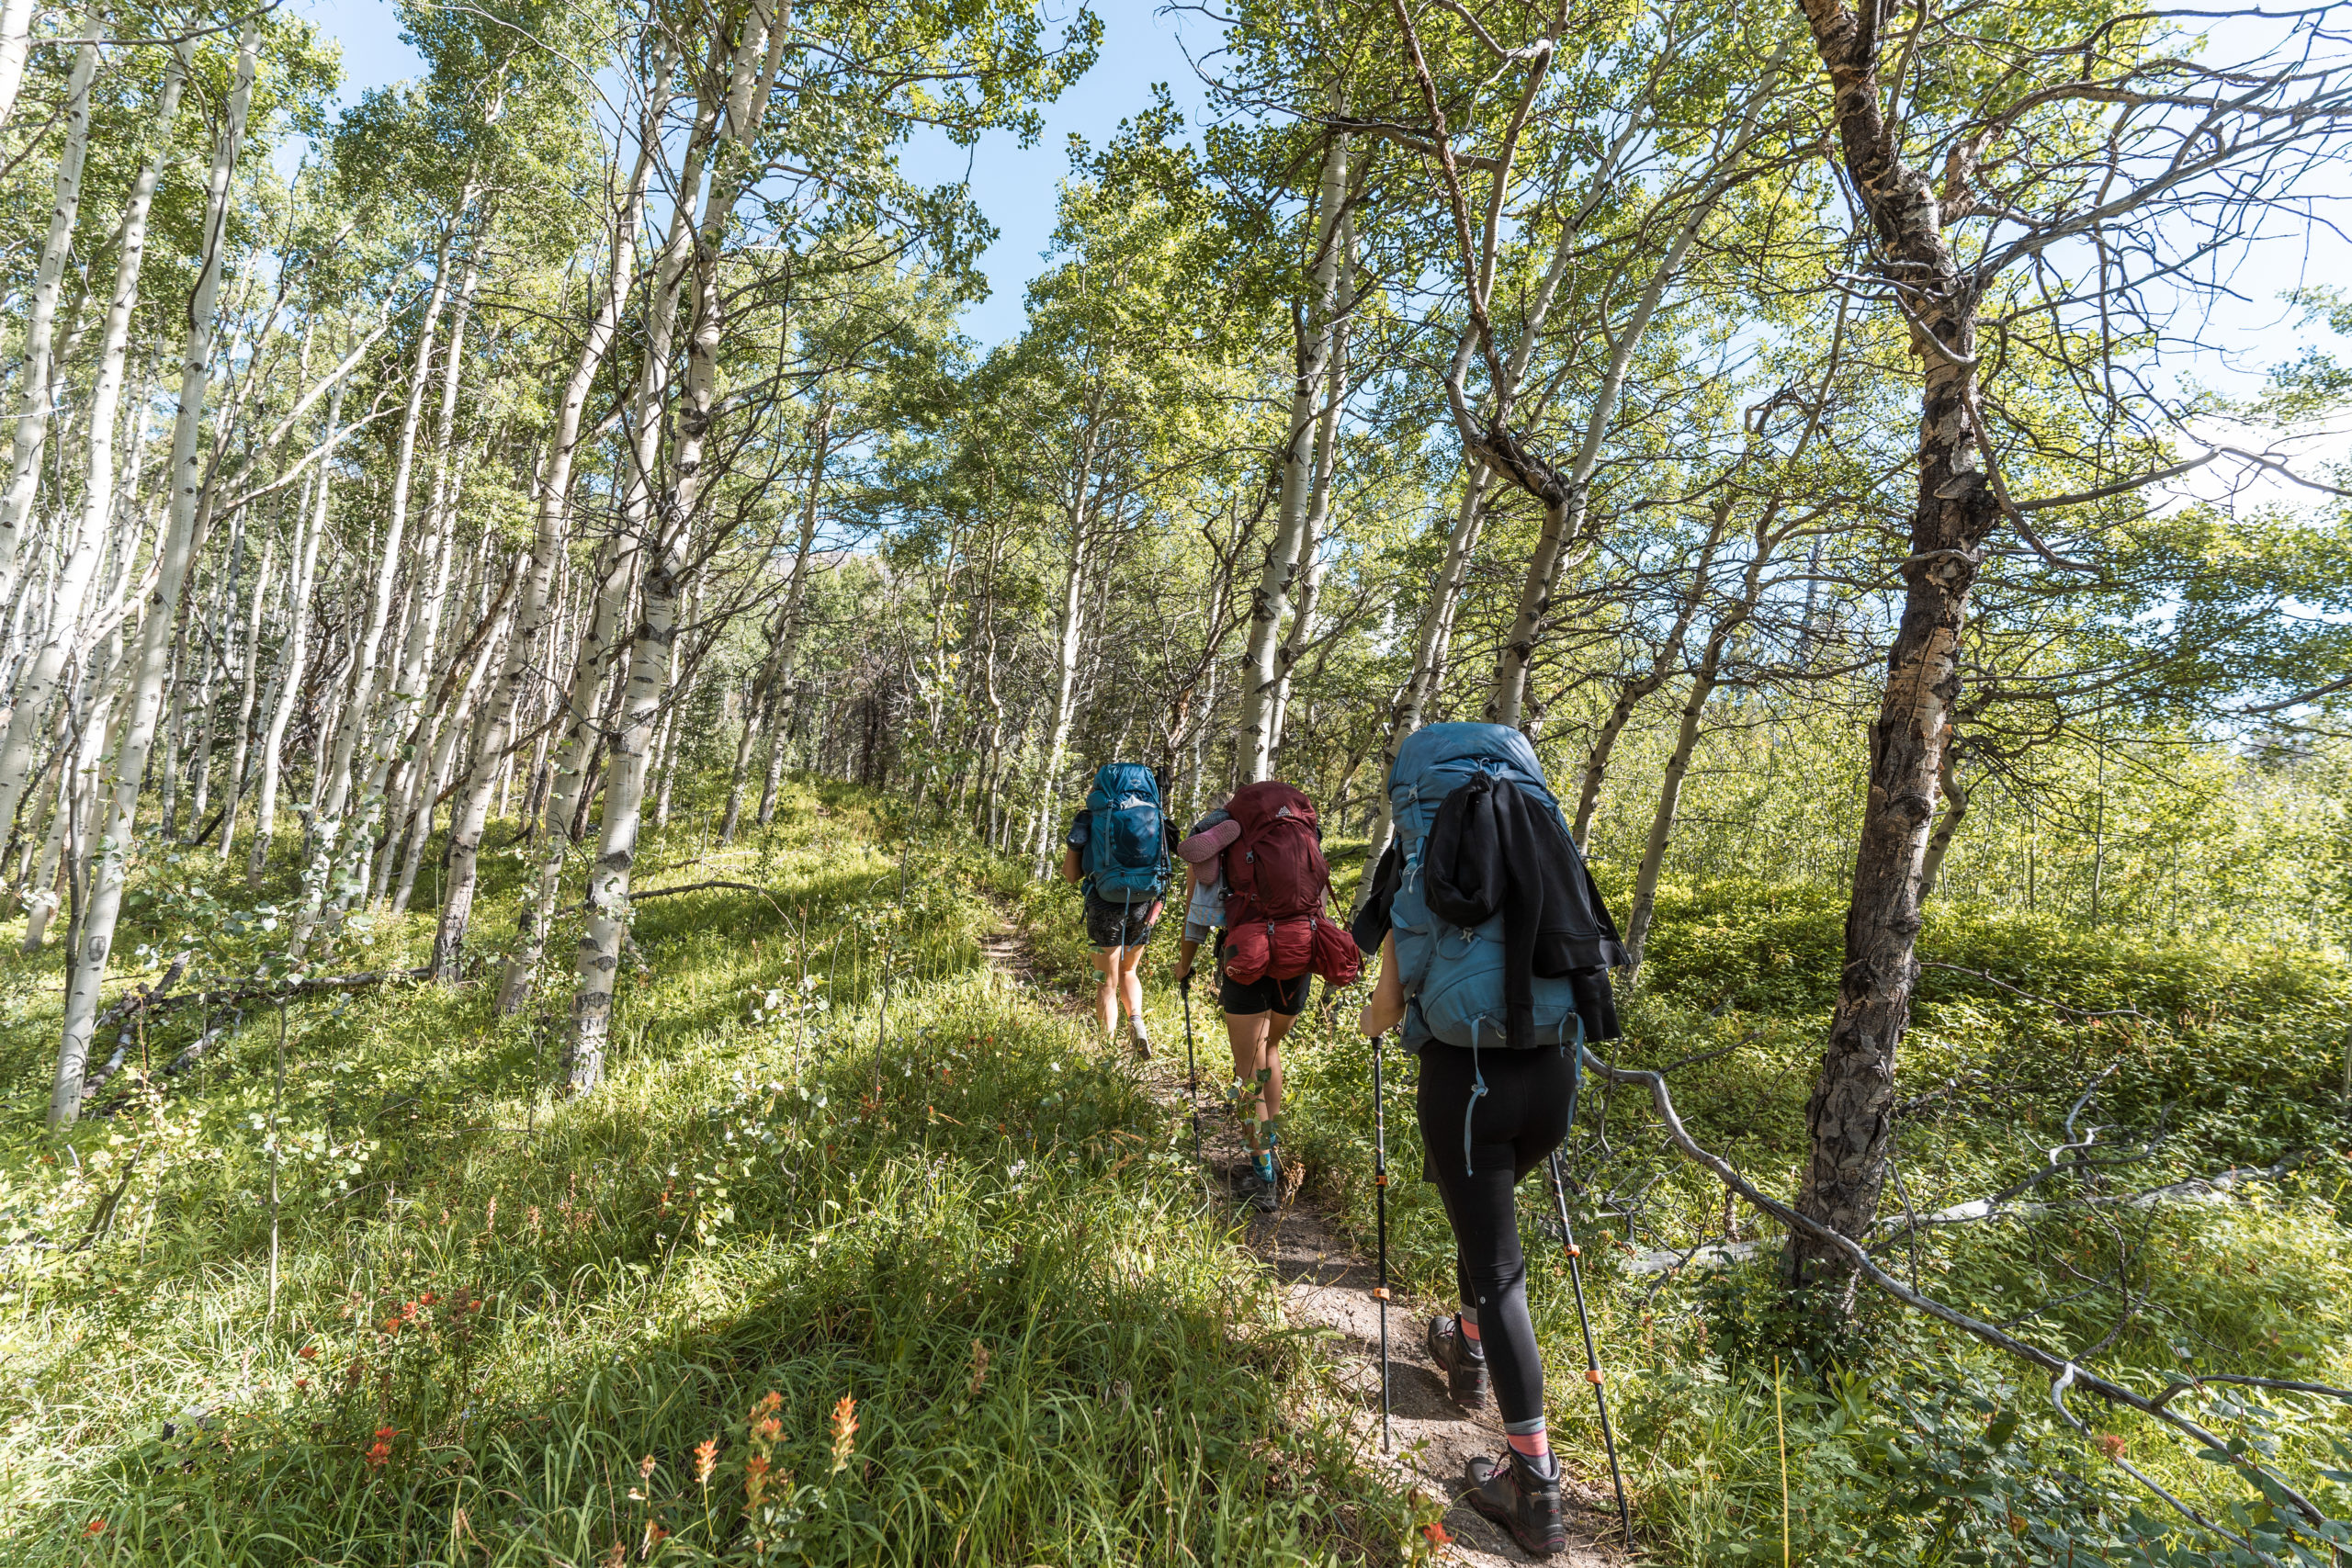
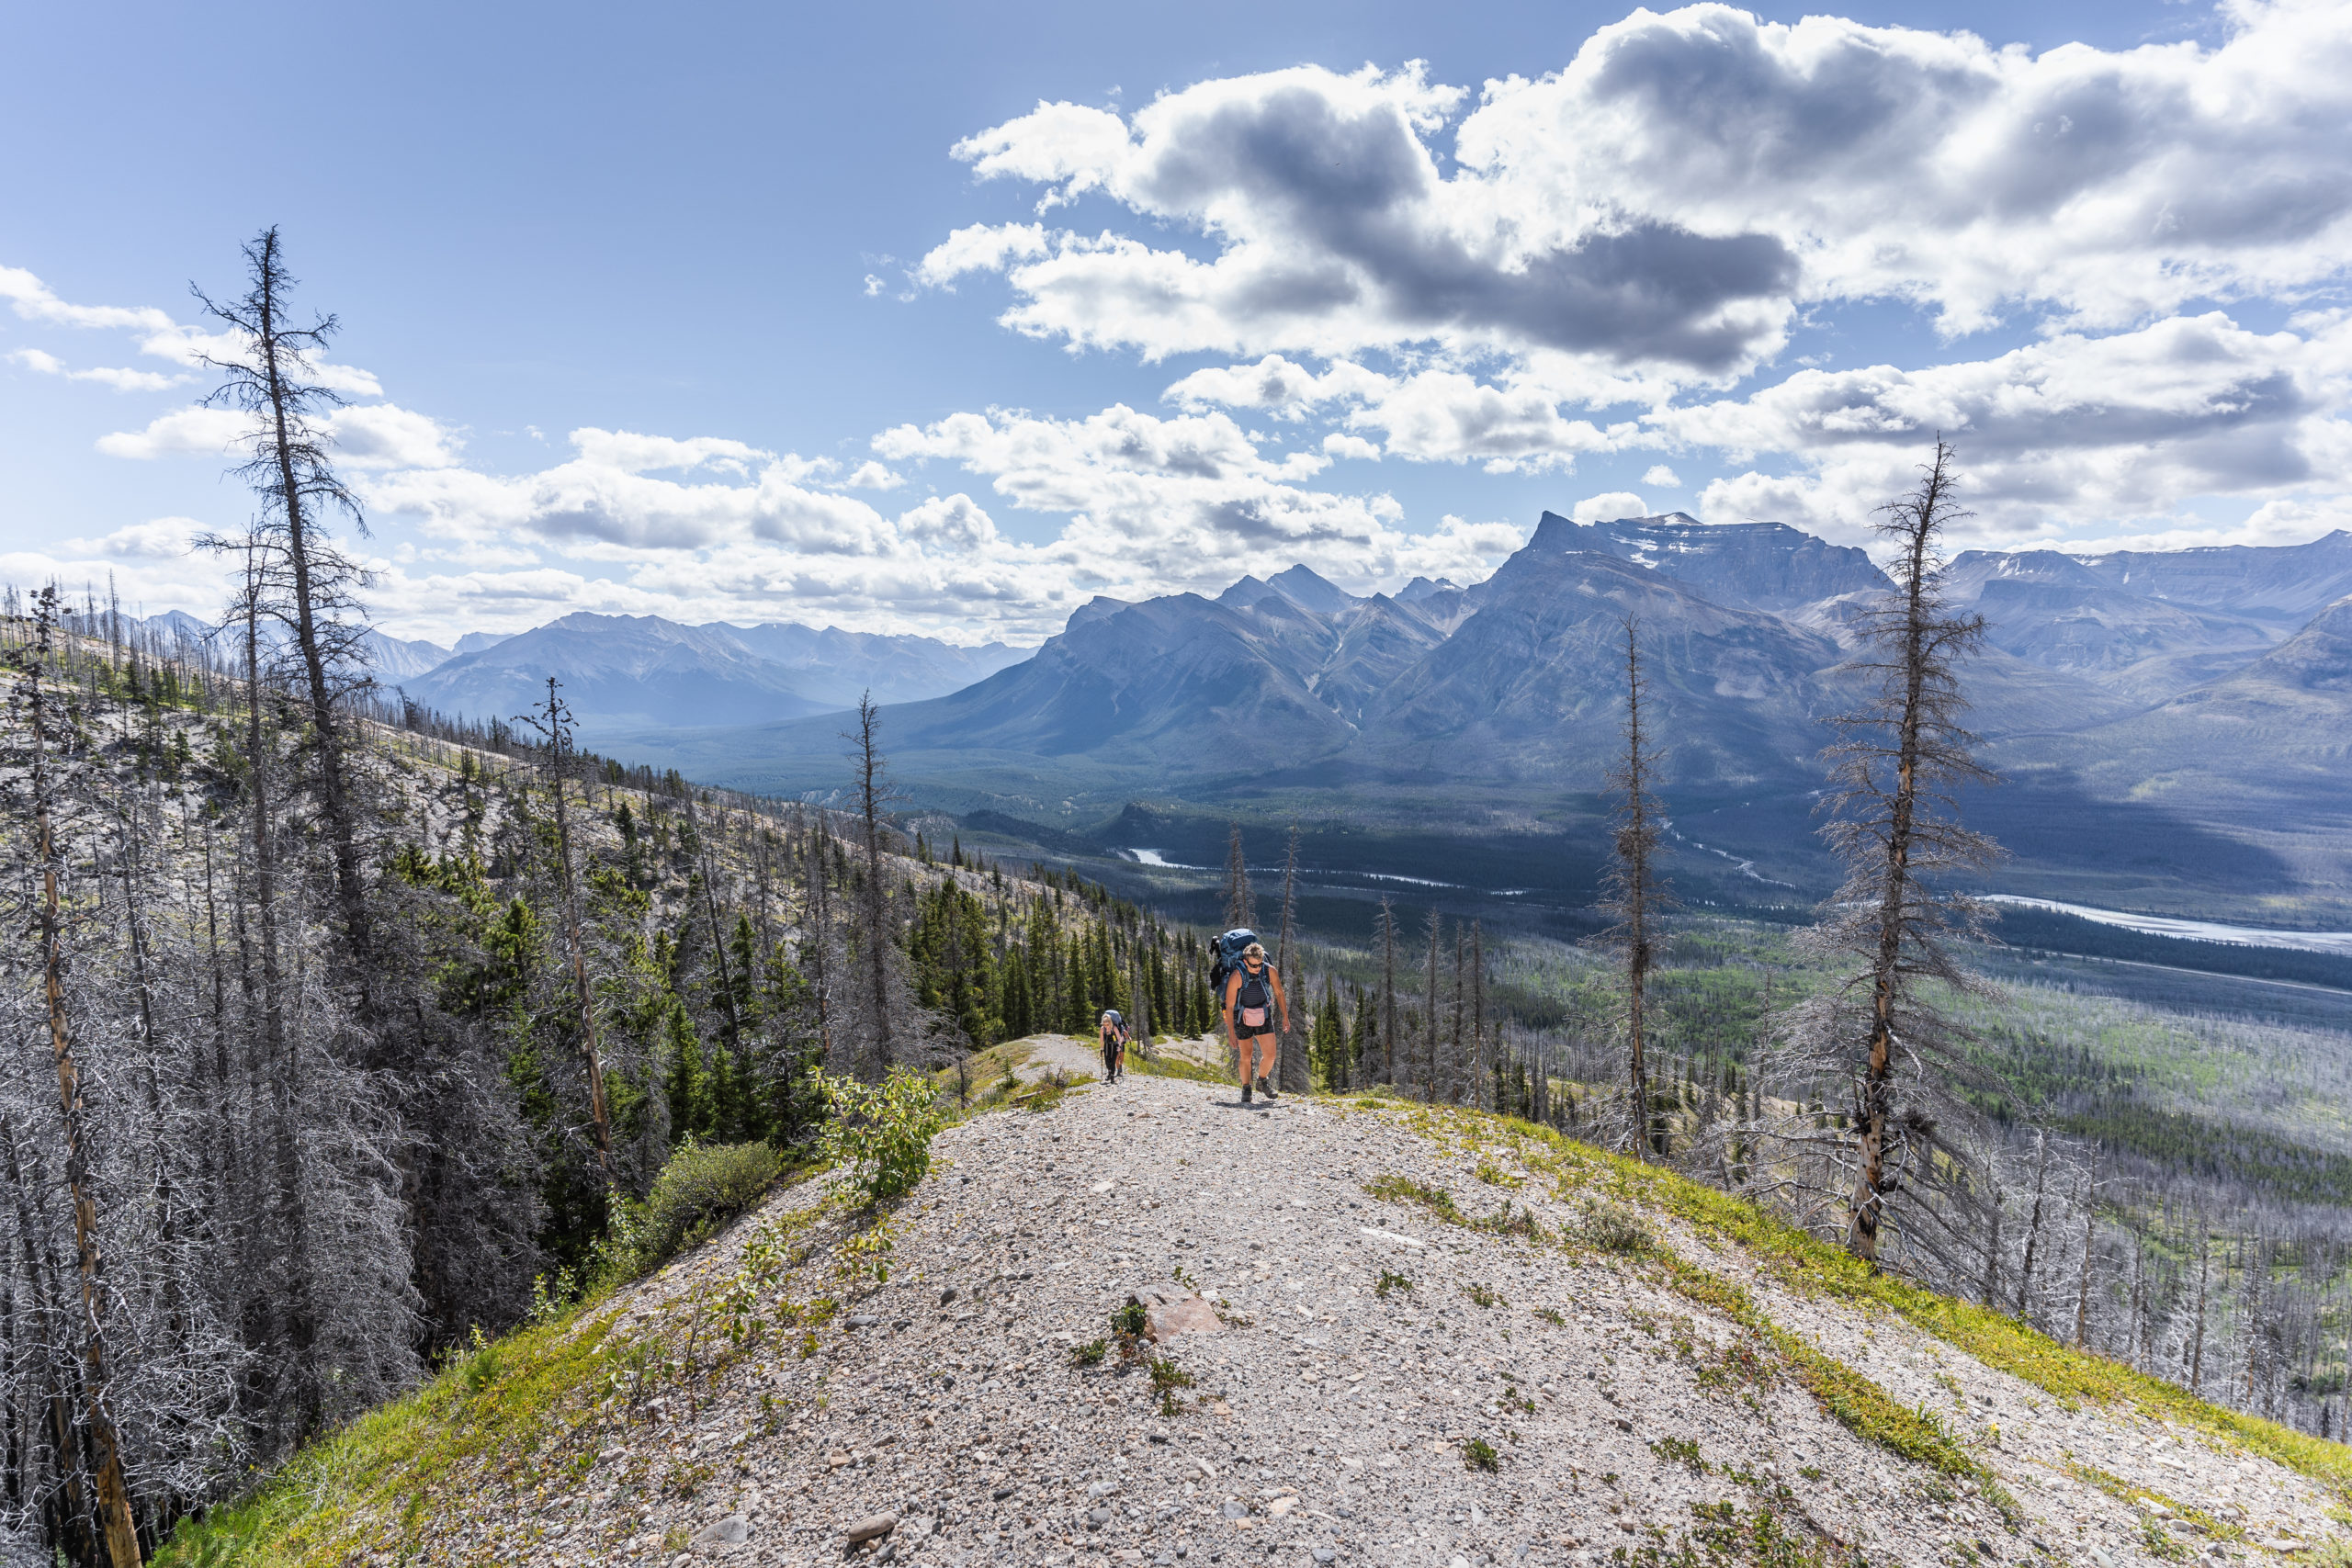
The first portion of the trail follows the well-maintained Landslide Lake Fire Interpretive Trail. If you are interested, you can spend some time reading the informative signs that share a little bit about prescribed burns and the relationship between fire and the landscape. You will find the first 1km relatively low in incline and well marked. The trail will eventually continue past a couple of Y’s were the Fire Interpretive trail changes direction but continue north onto the Landslide Lake Trail. From here, you will start on a lesser worn trail leading you up along a gully. This is where the heavy climbing starts. Poles are recommended, as there are some areas of loose soil and rocks, as well as some exposure to the hiker’s right side. Watch your footing! Trail conditions are variable for the ascent until you reach the scree slopes. You will be walking up through burnt forest, narrow enclosed trail, and open rocky sections. Don’t rush, the summit is further than it may look, and you will need that energy to get to the top. At some points, the trail splits in two directions but stay right and keep working upwards. Don’t be afraid to take some breaks because this is a serious climb with your overnight packs on. You’ll be ecstatic once you crest the first scree slope, only to find out the climb isn’t quite over yet—things do flatten significantly though. This spot will give you the best vantage point of the trail and valley below. Take some photos to remember it by, because you won’t feel like hiking that one again anytime soon! But hey, congrats.

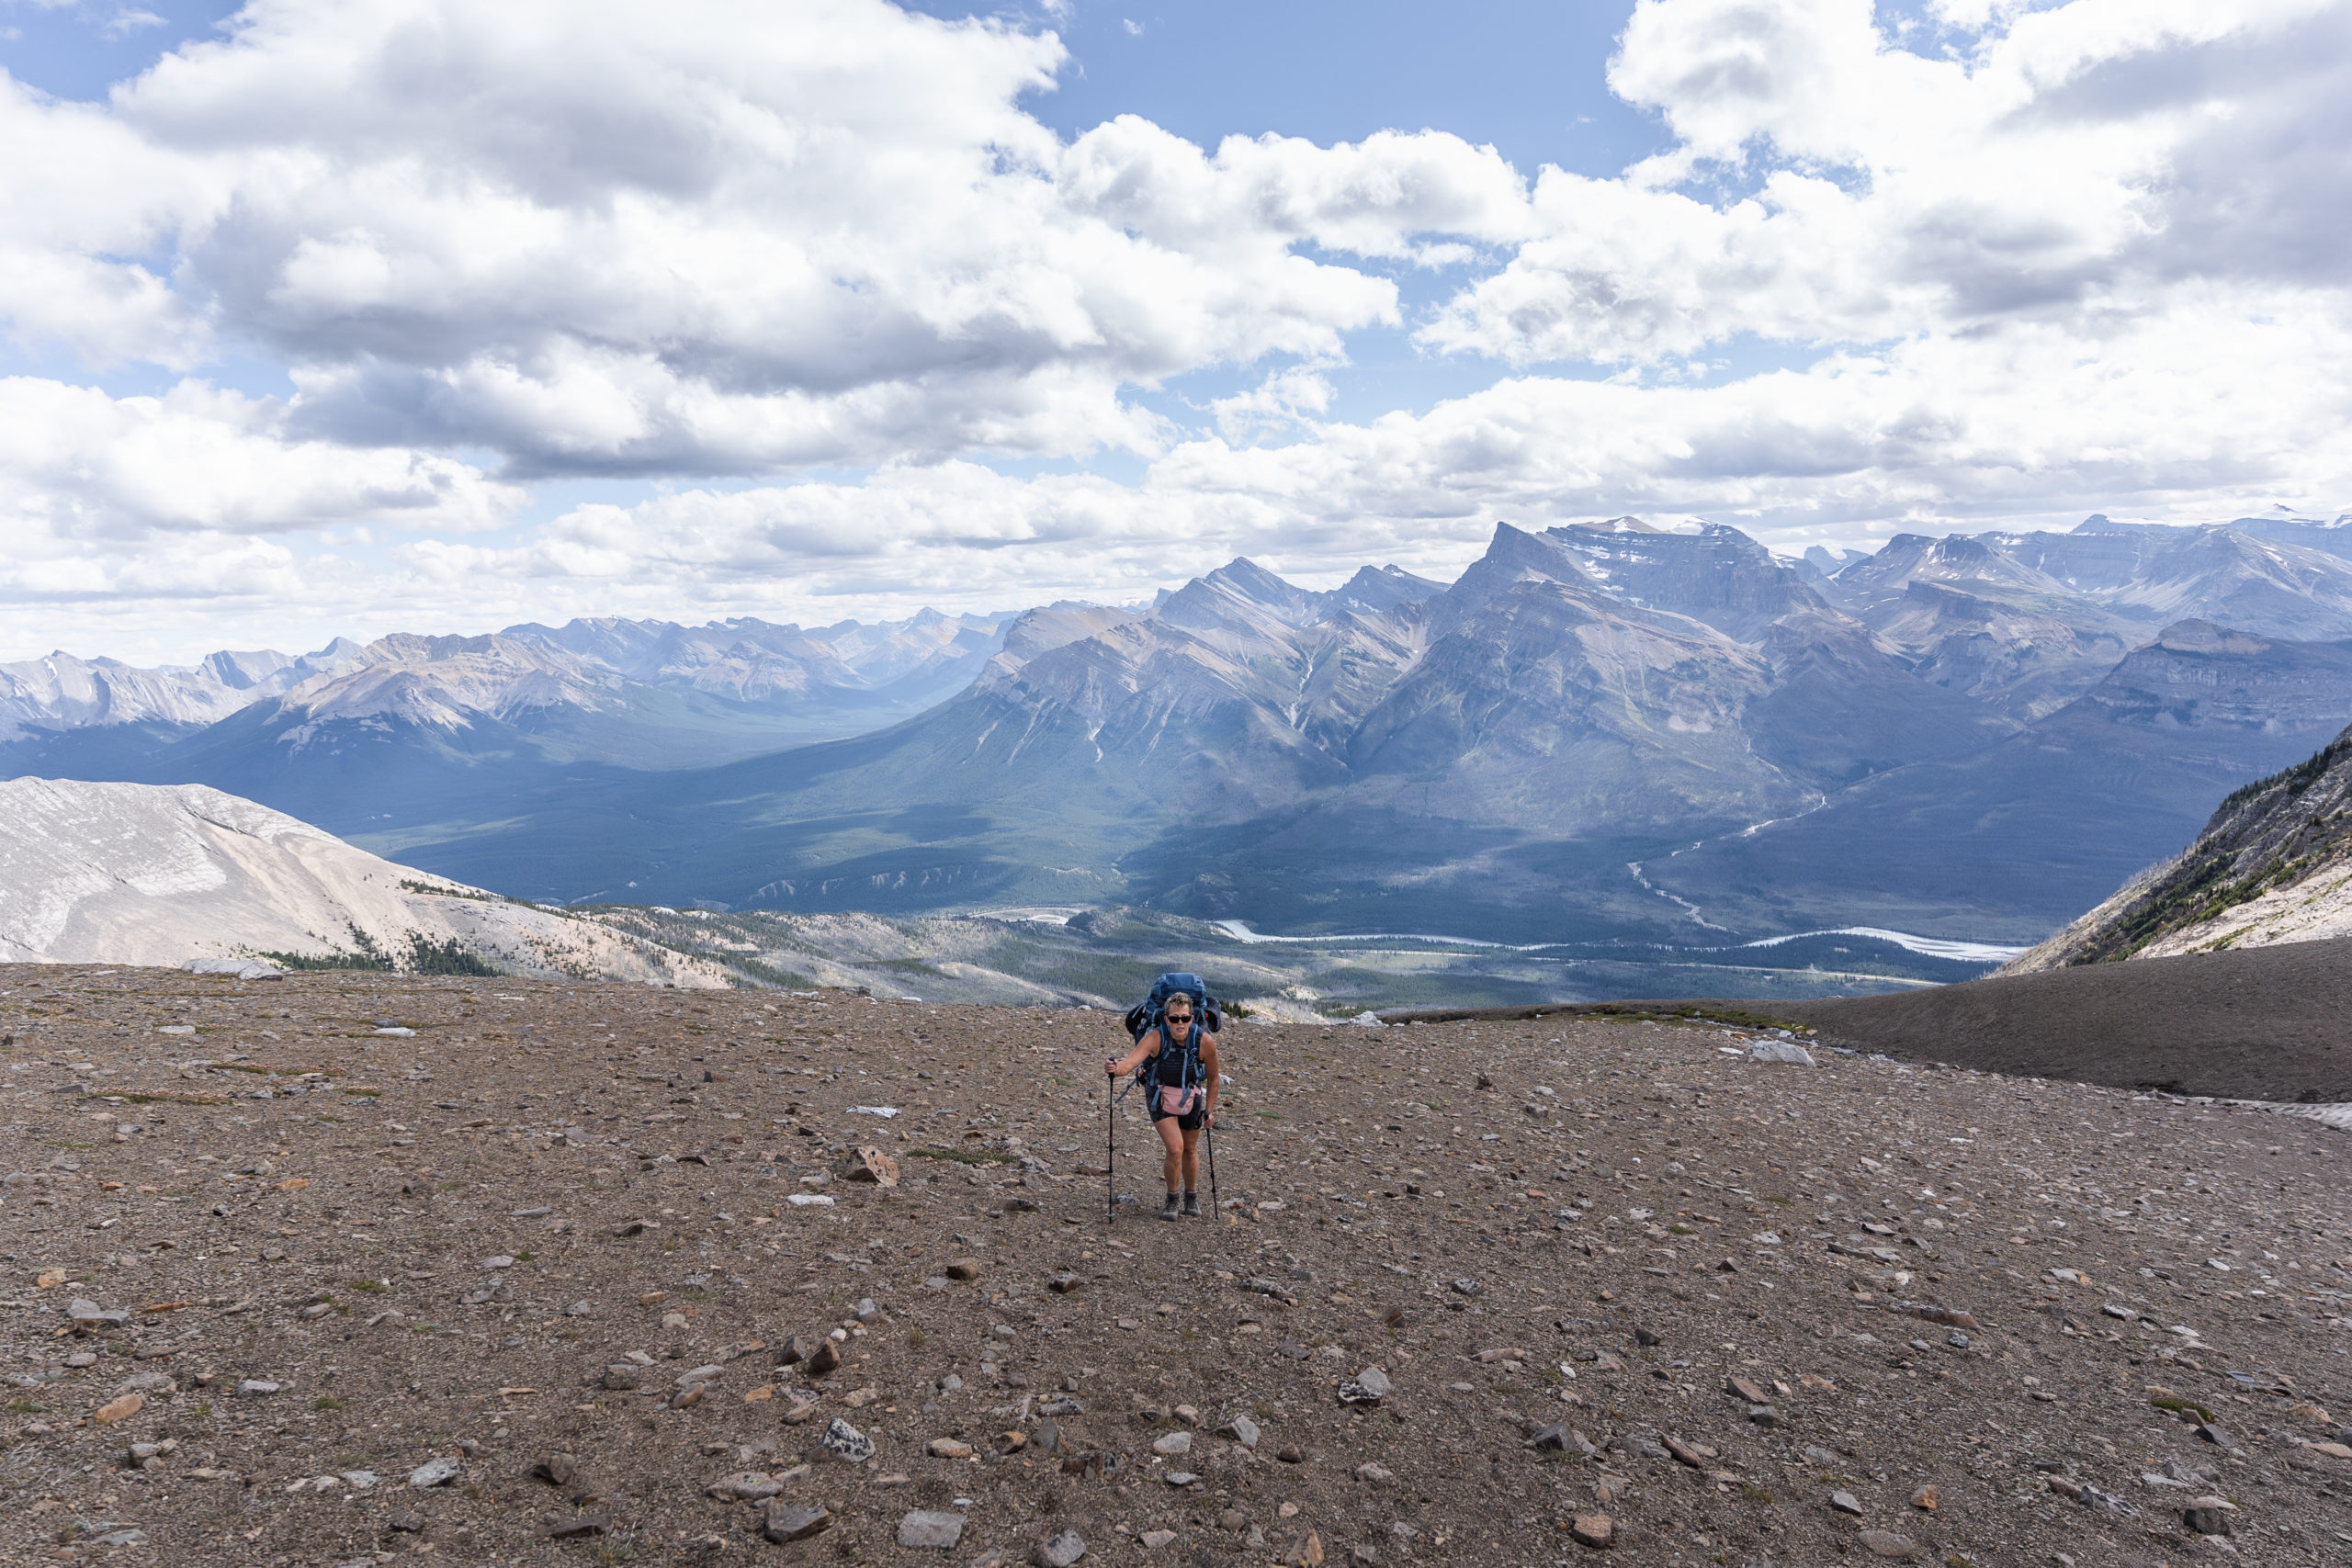
Once you have taken in the drastic change of scenery, you’ll notice that the trail is much less apparent. Follow what you can but stay on a northern trajectory across the scree field until you get your first glimpses of what you came for, Landslide Lake! This portion is about a kilometer long and can be very windy. From here, you will have one of the most impressive views of the whole trail. Towering peaks, lush valleys, beautiful blue Landslide Lake in the distance, and even pockets of snow most times of year. The scree slope leads down into a small boulder field and eventually the green valley bottom. Follow the existing trail as it traverses high from the pass, staying to the right side of the decline. Once you make it to the valley bottom, the trail gets wet due to the many small streams feeding into the lake. The ground is saturated, and some stretches can be very muddy at times. Use the high parts of the trail as best you can and avoid creating new paths when possible. As the lake gets closer, the first camping areas will start appearing along the trail. If you plan to camp at the South end of the lake, choose one of these sites. This end of the lake also offers a bear bag hanging station for campers to keep food bags high out of the reach of wildlife. The meadows here are stunning and filled with wildflowers and lush greenery. Remember to enjoy these wild beauties but refrain from picking them so others can enjoy in the future.

If you are wanting to put on some more distance before setting up camp, follow the shoreline north. The trail hugs the lake’s edge and offers some beautiful views as you make your way the 2km down to the north end of the water. Watch your step as there is no defined trail here and the rocks can be slippery.
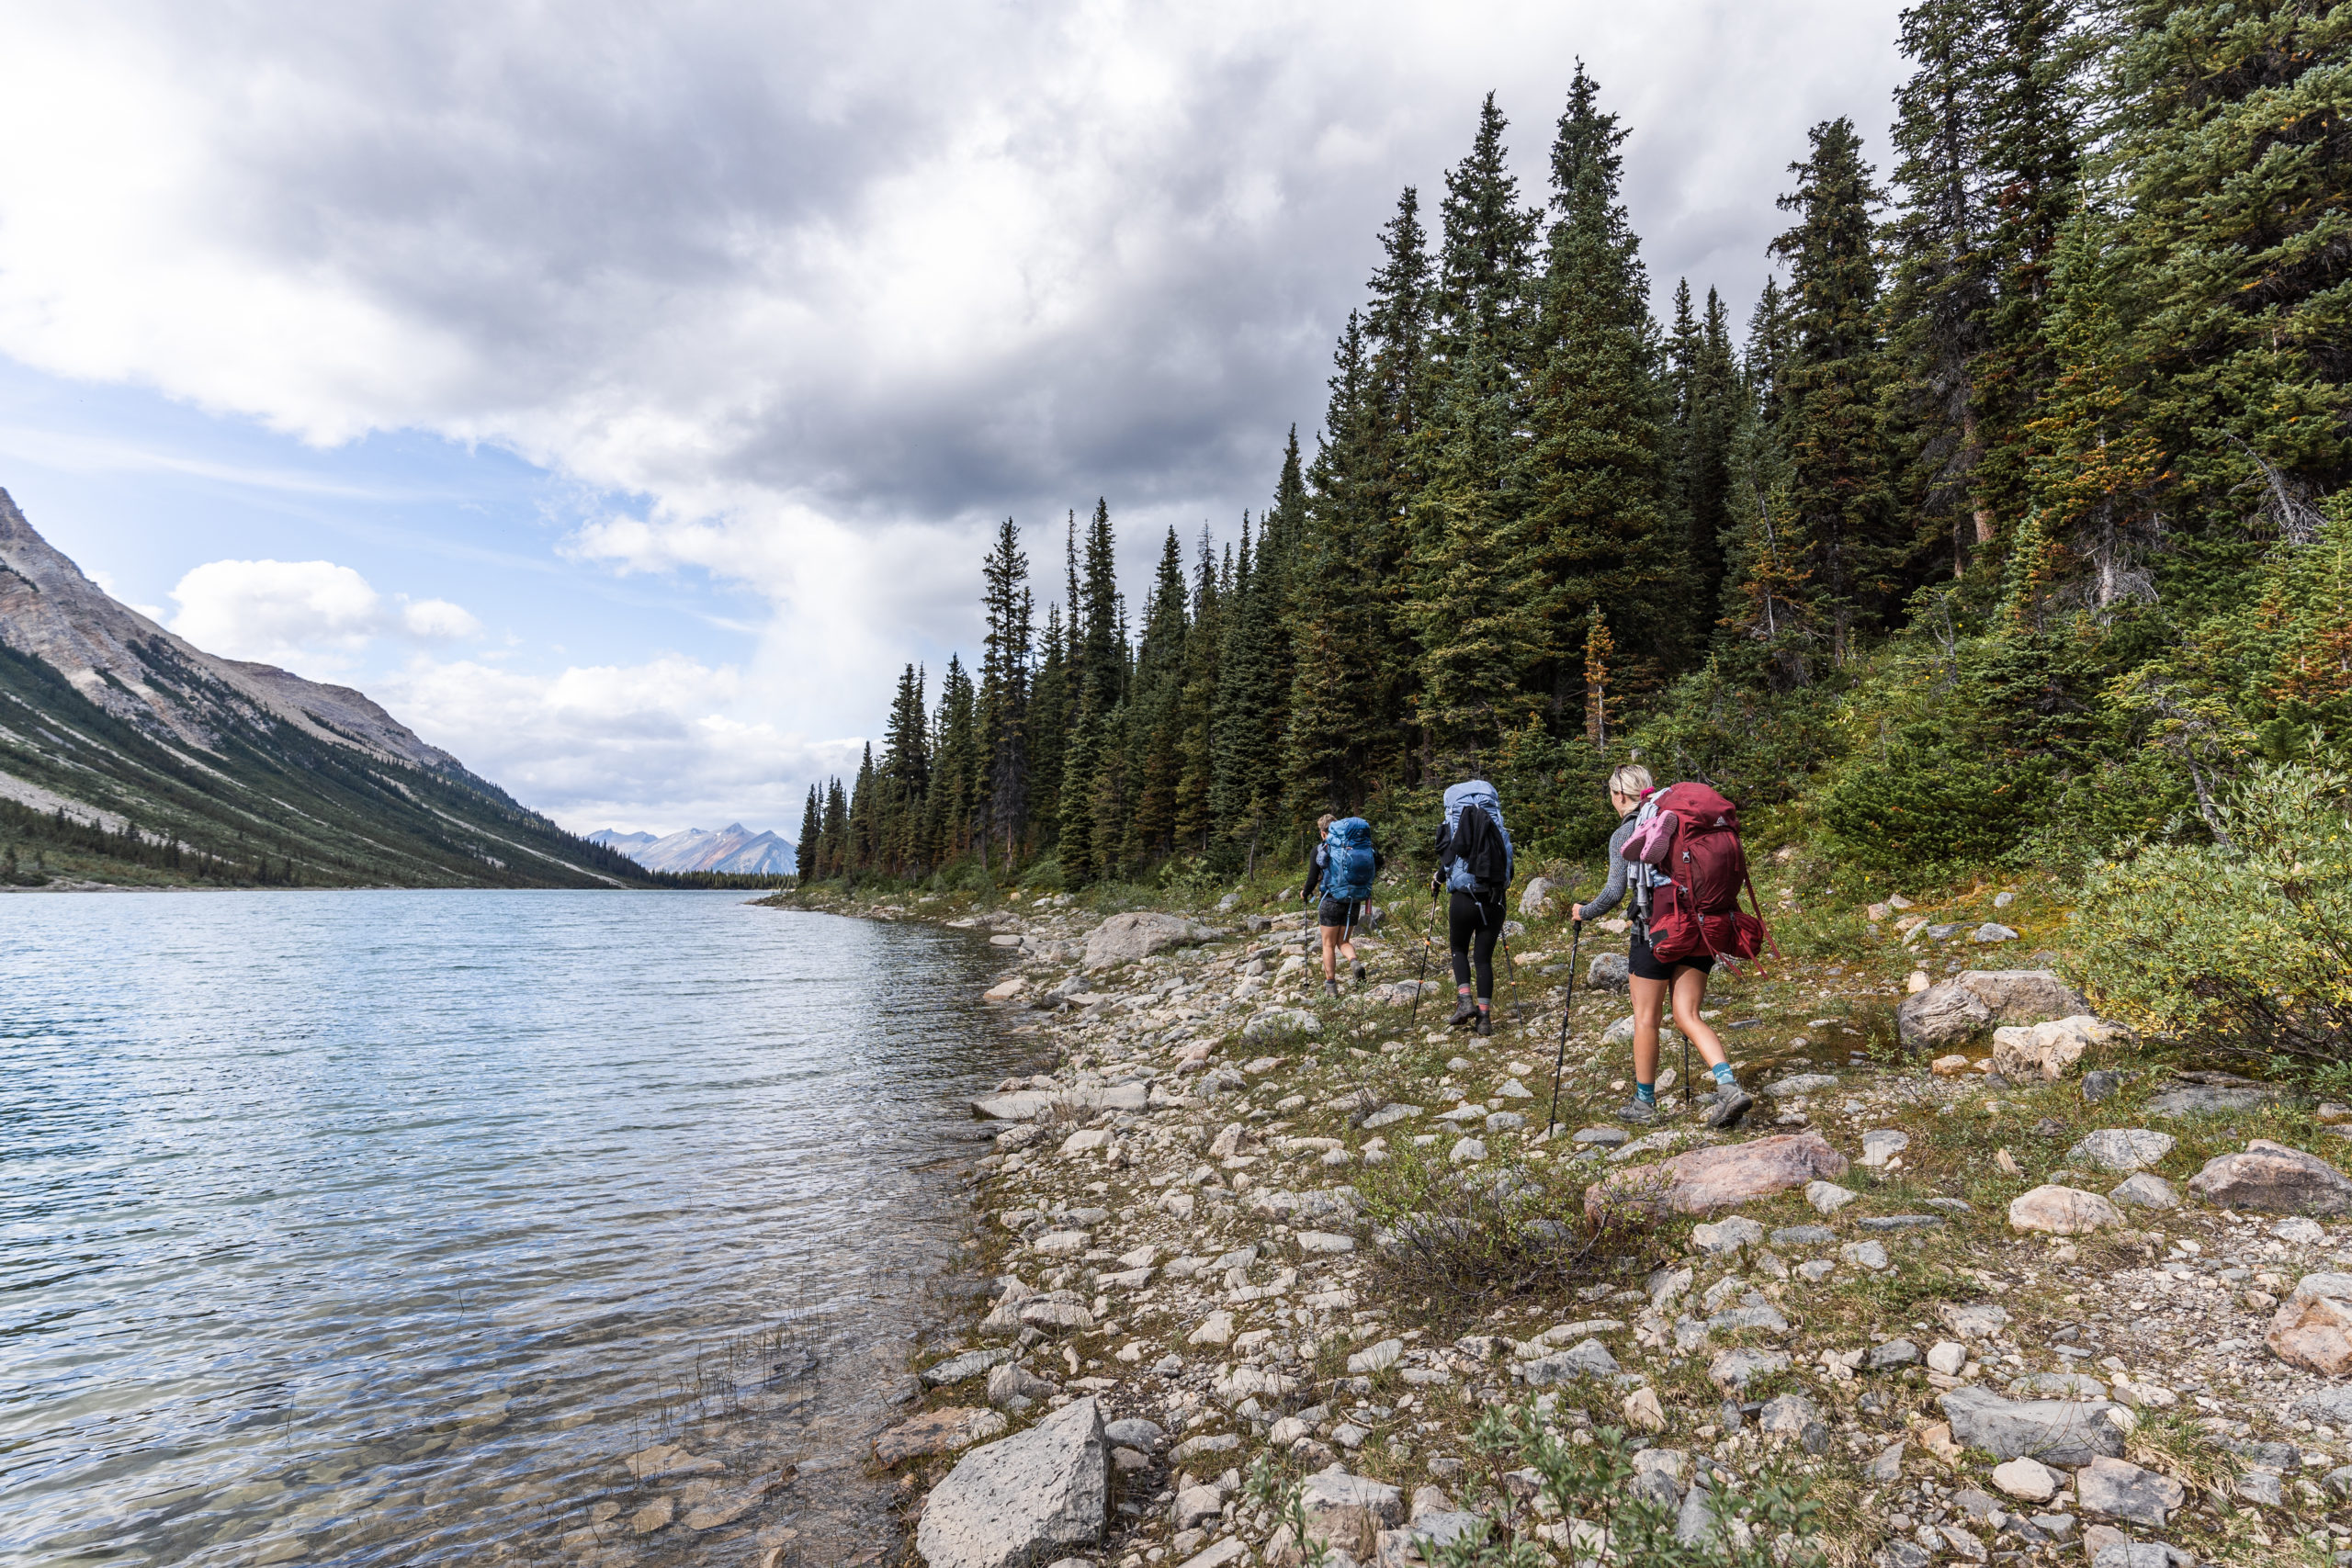
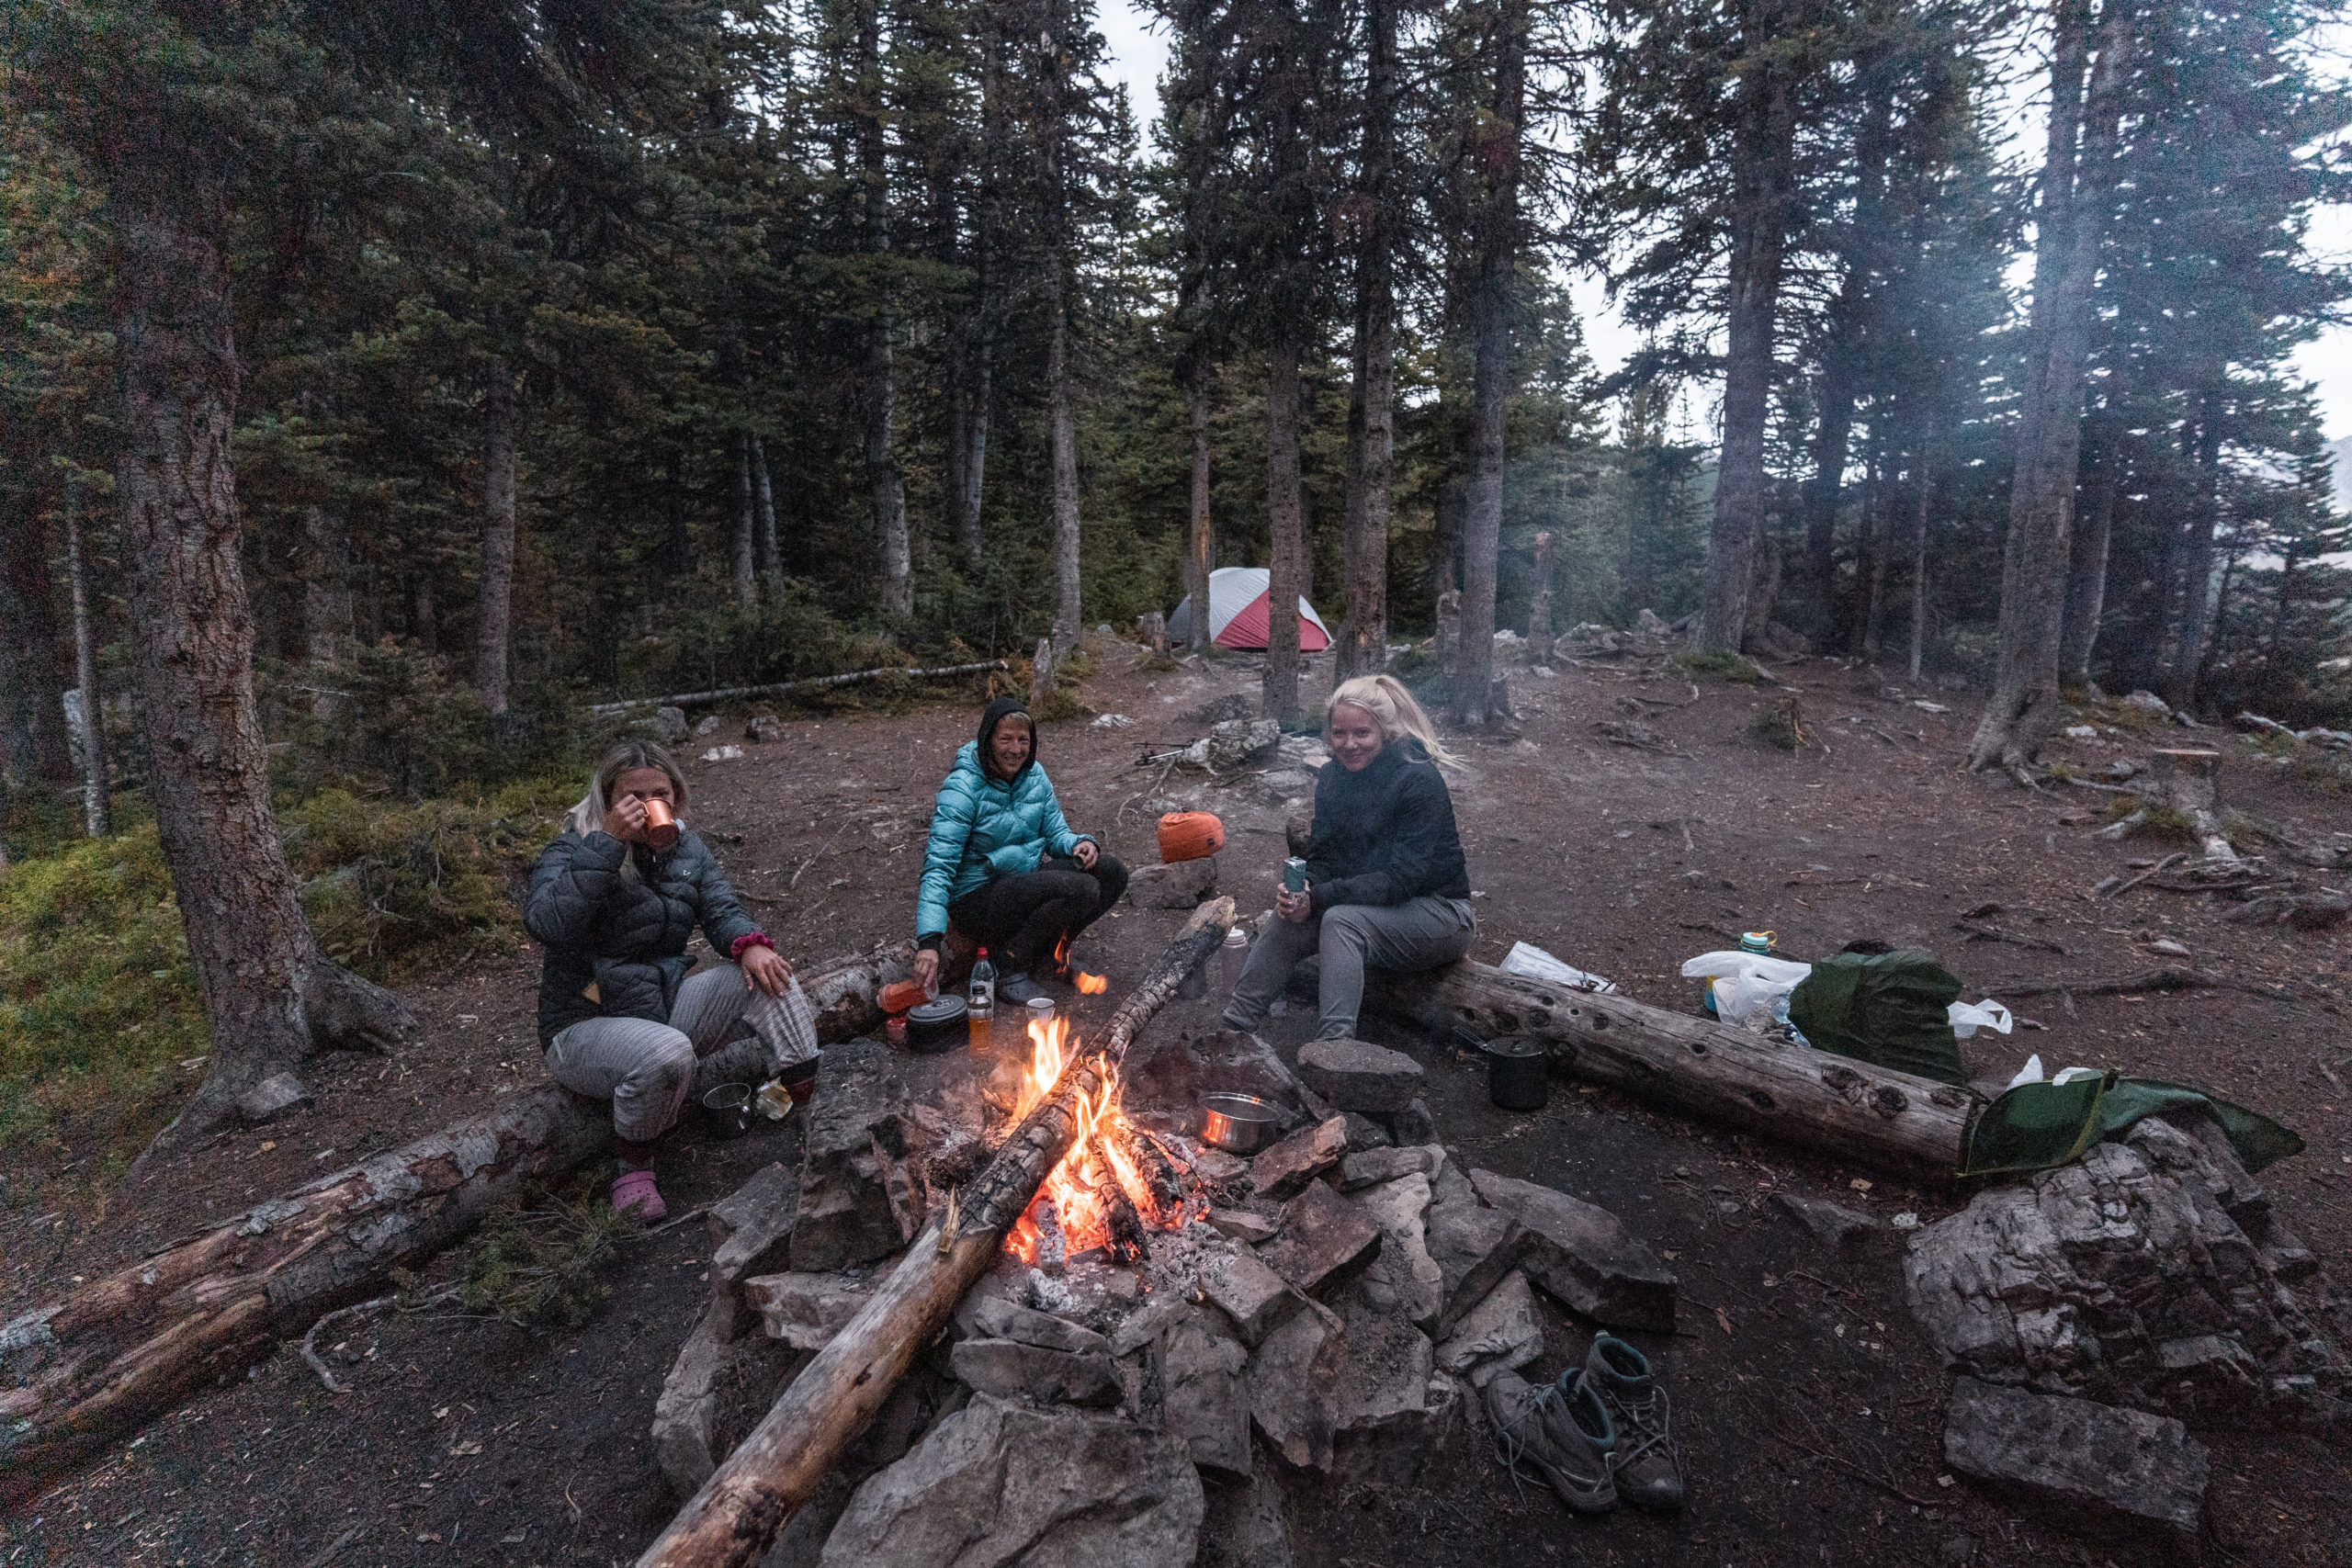
The north end of the lake also has some well-defined camping areas and ample space to find a secluded site for your tent or hammock. The sites on the north end are more protected, so bear that in mind when choosing—this may be the better choice for stormy weather. You will also be treated with extraordinary views of the slopes that the lake takes its name from. This is an incredible Albertan camping area, so please treat it as such. Pack out what you pack in, take out any garbage you find, and be mindful of fire regulations for the duration of your trip. Also Be mindful of damaging vegetation around the camping areas.
You may want to budget for an extra night of camping at Landslide because you won’t be ready to leave after one. If you plan to hike back out over the pass to the south, follow the same trail you hiked on the way in. If you are going to complete the loop hike, the trail continues North from camp following Entry Creek and eventually the Cline river.
The route out to the Pinto Lake Staging Area is 16km and descends 700m over that distance. It starts off on a well-kept but densely forested trail with undulating terrain. After about 3km you will come to a bridge, this is the access point if you are wanting to go up to another beautiful lake, Lake of The Falls. This will add an extra 10km to your trip and some priceless views.
The original trail along the river gets washed out past this point. There is now another option which scampers up along the top of the high-water mark. This section of trail is loose and may cause some difficulties when trying to follow it during different times of the year. Over the next 5 km you will find 3 campsite options if you are looking to make a shorter day. All three are next to Entry Creek and make for a beautiful spot to spend a night. This a great option if you want to make the walk out to the trailhead a little easier. It is another 8-10km to the Pinto Lake staging are from here. Once you get to this point the hard stuff is over. There are a few ups and downs but this is a nice part of the trail to coast, enjoy the views, and reminisce over the past days of adventure. This section should pass quickly and before you know it you will find yourself back at your vehicle celebrating and taking off those boots.
Conclusion:
There it is. Your all-inclusive Landslide Lake Guide. This trail has a plethora of beautiful backcountry to enjoy but is not for beginners. Make sure that you are confident in your overnighting ability, you have all the gear you need, and that you let someone in civilization know your tentative adventure plans. Spending time in Alberta’s incredible backcountry is an experience like no other, but you don’t want to be unprepared. Accidents can happen and the weather can change quickly. Play safe and Happy hiking! Landslide Lake is one you will not soon forget.
Other Blog Articles
Explore David Thompson Country
-
July 28, 2020
Trail Blazers Proving the Need for the David Thompson Highway
The following are some of the stories about getting the David Thompson Highway built from Rocky Mountain House out to the Banff National Park. Thank you to the Rocky Mountain House Museum for sharing their information and pictures with us. “Rocky Mountain House was the end of the road west, literally, until local businessman Ernie […]
-
August 30, 2019
13 Summer Adventure Pictures in David Thompson Country – August 30, 2019
It was a wet year and we didn’t see many hot days, but the views were still wonderful, the hikes amazing, and the camping always fun. Here are some of our favorite summer adventures in David Thompson Country for 2019. Whitewater Rafting with Hunter Valley Adventures on the Red Deer River in the southern […]
-
November 6, 2017
Our Top 15 Favourite Instagram Photos of David Thompson Country: Year-Round Adventure Edition
We’re back at it again! We love sharing and highlighting the amazing shots you get of David Thompson Country and something we’ve noticed every time we’ve done this is just how many talented photographers seem to live and breathe adventure. The breathtaking times never seem to stop, so with that in mind, we put together […]